Step 1: Create a remote repository.
If you don’t already have a repository for your new project, you can make one for free on: https://bitbucket.org (i recommend this one) or www.cloudforge.com.
Don’t forget to create a new project map for your remote repository
Step 2: Install GiT GUI
Download Git from http://www.git-scm.com/download/ for what ever OS you use.
Just yes and next on trough all the install process and leave everything Standard.
Step 3: Create a new Local Repository
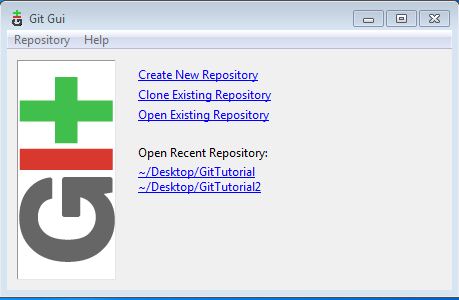
Simply start up the Git Gui application you just installed, and click Create New Repository and select the new location and make a new folder where your local project will be.
Step 4: Create your first file.
Make a new file in your local Repository for example. README.txt and add some text. Save it and press Rescan in your Git GUI. It will scan the last new modified files in the local repository. Then press stage changed -> Sign off -> Commit.
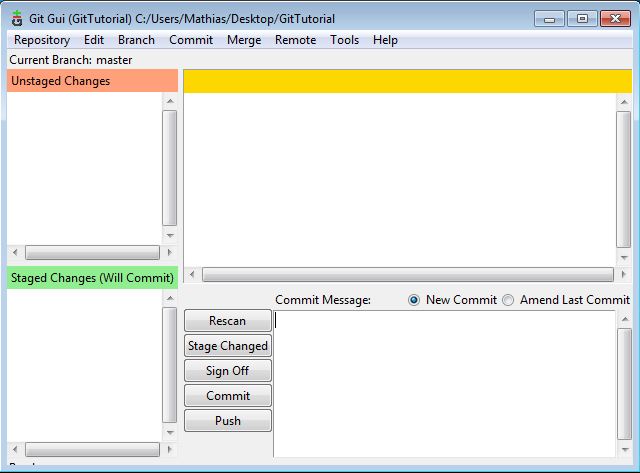
Now you have committed your work to your local repository.
( if you get an error the first time when pressing sign off go to Edit -> options and fill in your User Name and Email Address left and right and save )
Step 5: Connect your remote repository.
In the menu, press Remote -> Add.. and fill in what ever name you like. For the location you copy past the URL given by your Remote Repository for your created project ( in my case bitbucket: https://raidenfox@bitbucket.org/raidenfox/tutorial.git )
Step 6: Push your new local files to your remote repository.
Simply press the Push button in the Git Gui App to send all the files to your remote repository. (you may have to enter your password)
Step 7: Get the last modified files from your remote repository and merge them.
When you our a team member changed something in the remote repository and you want to update your local repository with the latest changes. press Remote -> Fetch from and select the remote repository you like to update with.
New you have fetched the new files, but there not yet updated in your local repository so you have to merge them first, to do this simply press Merge -> local merge and you will the the Origin master where you want to merge from and press Merge.
Your local files are now updated with the remove files.
( if it does not show up, you might have to restart Git Gui and try again )
Step 8: removing bad files in your local repository.
If you made a error or mistake in a file and you don’t want to push this file to your remote repository you can delete this file from your local repository by pressing Rescan -> Stage Changed and go to the menu hit Branch -> Reset... Now the File wont be in your local repository anymore.
Stem 9: Cloning a Existing remote Repository.
If you want to clone a Existing project from a remote Repository simply launch the Git Gui app and select Clone Existing Repository. Select the source location, (https://raidenfox@bitbucket.org/raidenfox/tutorial.git in my case) this can also be local address if you it stored on a computer in your network and select the Target destination Directory where you want to save it and press Clone.
It may ask for some passwords again just fill them in and your project will be cloned onto your computer.
And there you go, new you should know the basics.
If you like to see this in a quick video you can watch this Git GUI tutorial: ( all credits go to him)